Launch an RDS Instance
Launch an RDS Instance
Now that our VPC security group for Database is ready, let’s configure and launch a MySQL RDS Instance.
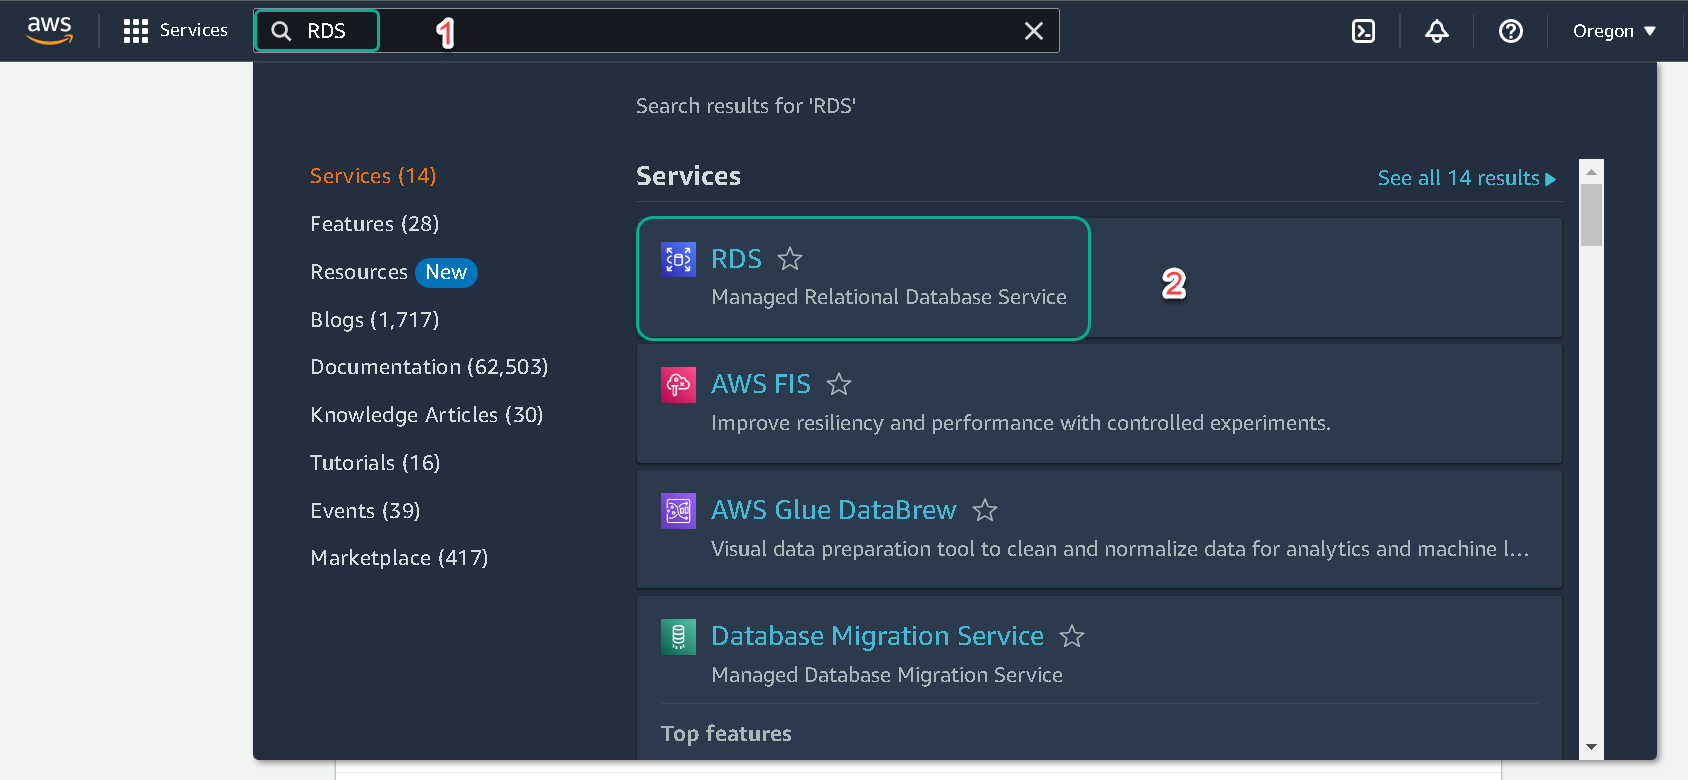
1.Sign into the AWS Management Console and open the Amazon RDS console
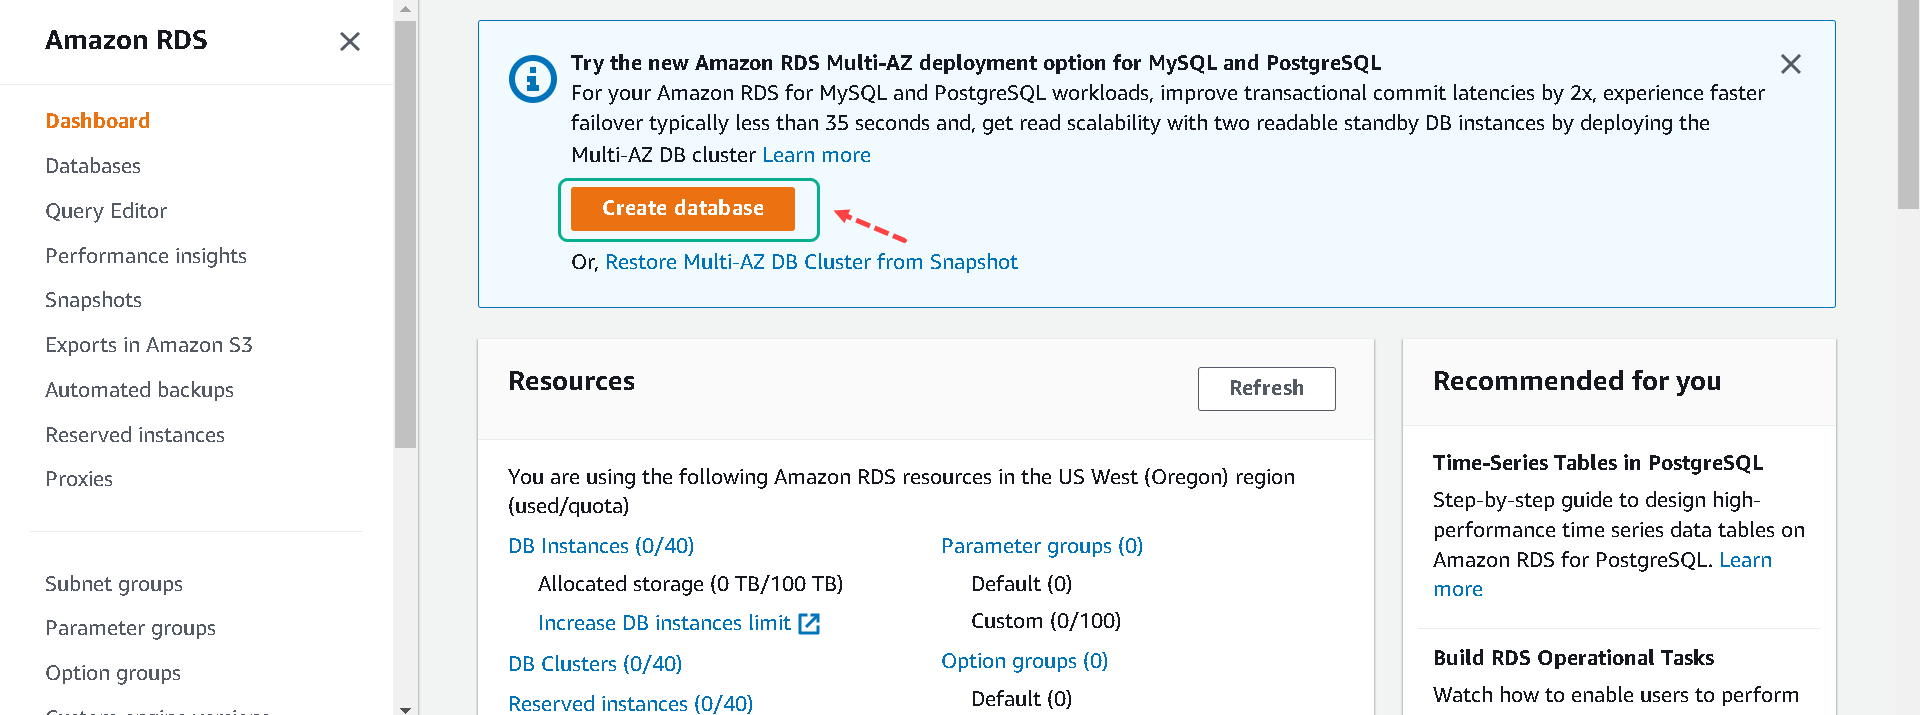
2.Click on Create database
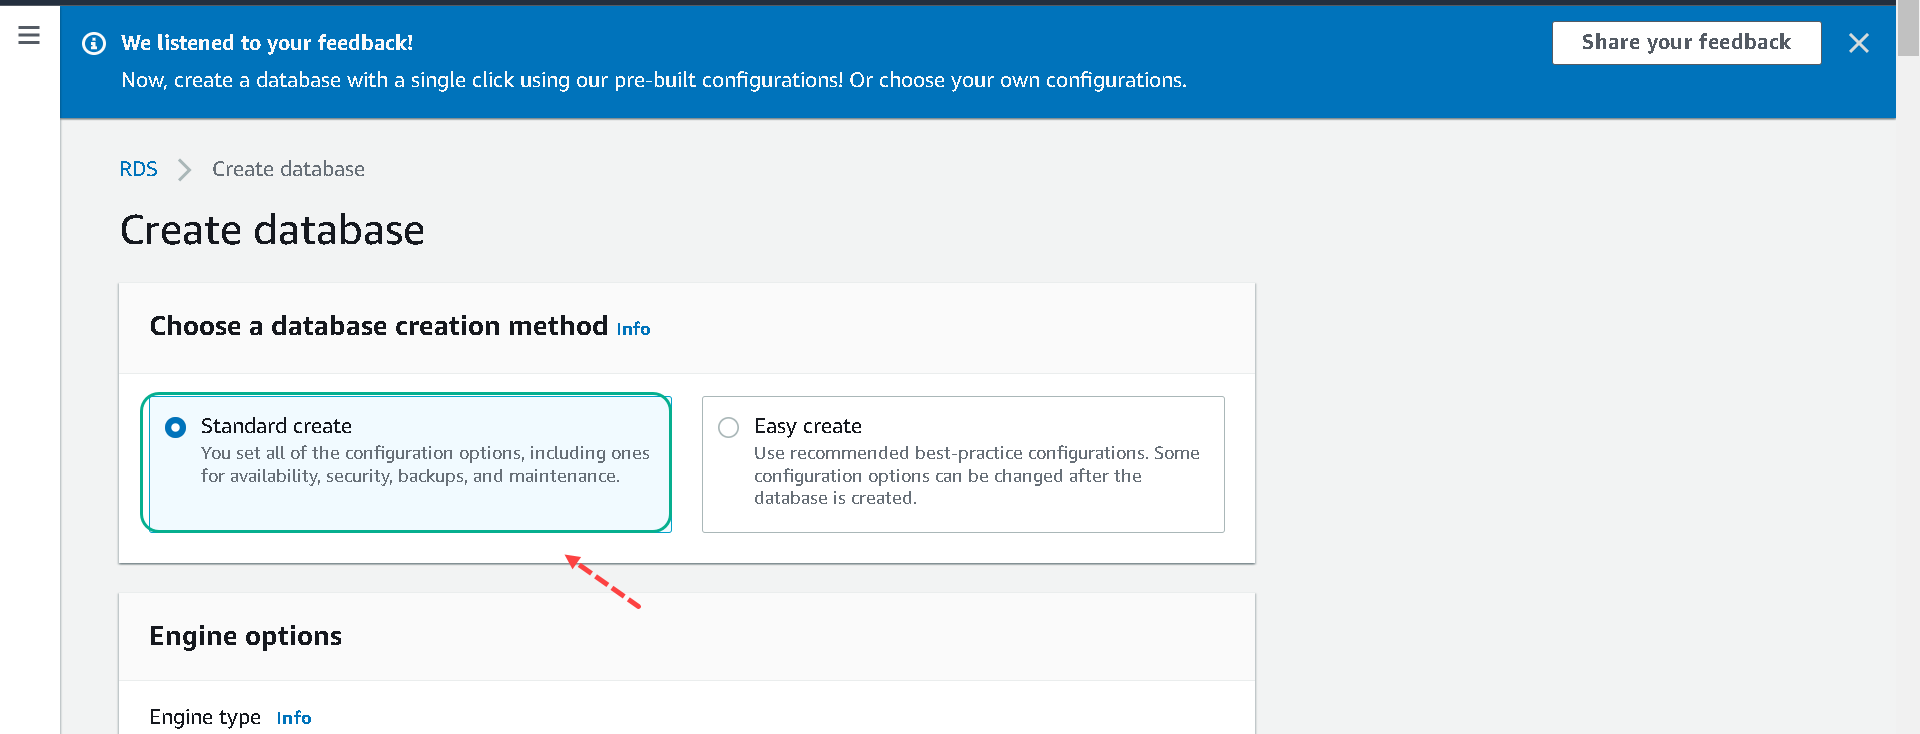
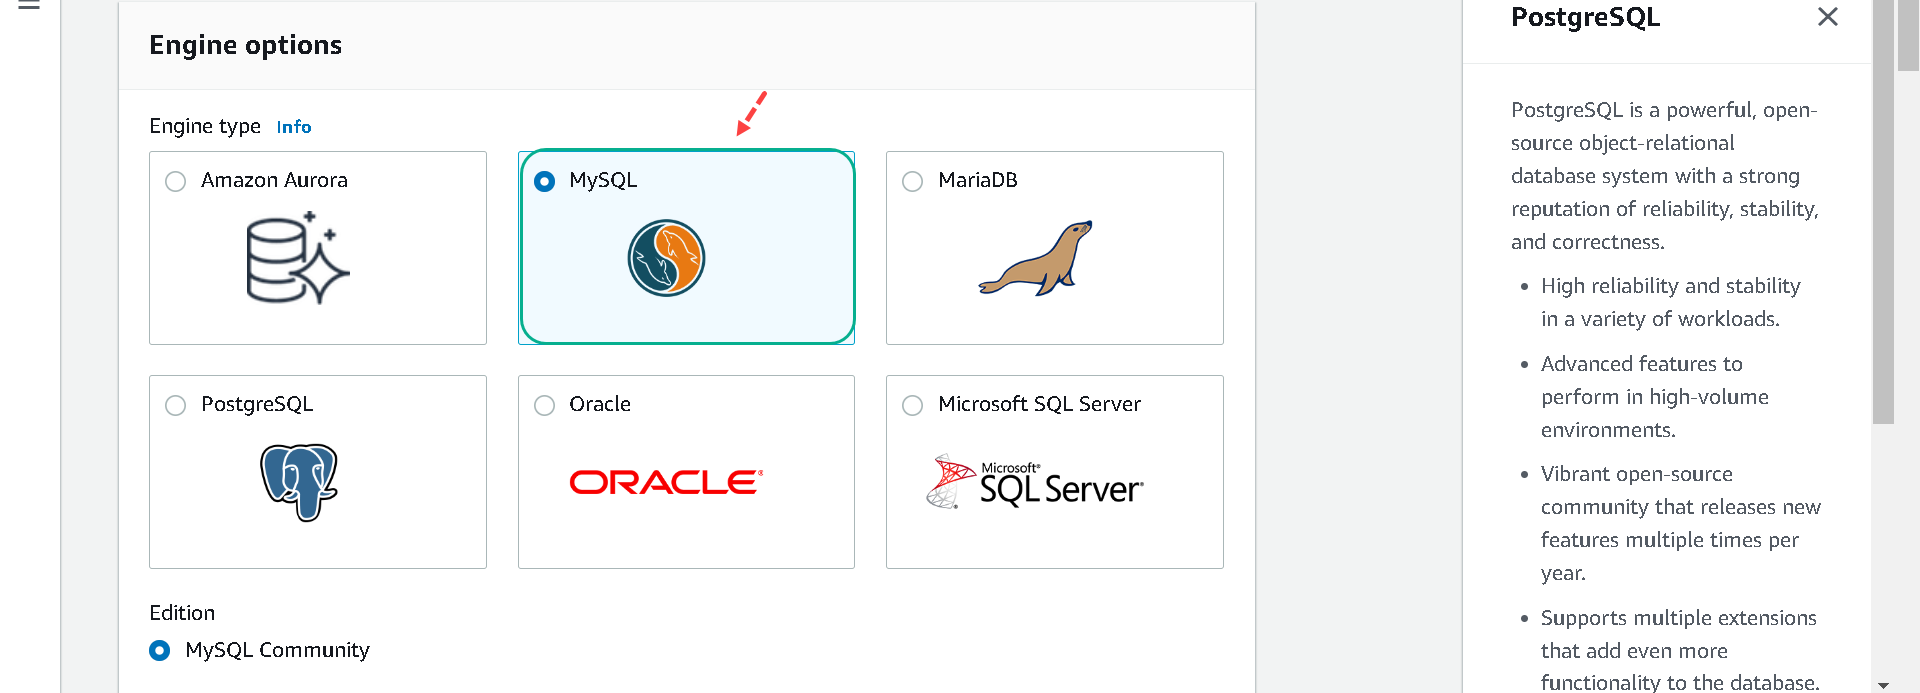
3.For Choose a database creation method, select Standard option. With Standard Create, you setup the configurations for your database. Select MySQL in Engine Options.
Easy Create option provides recommended best-practices configurations to get started with deploying databases.
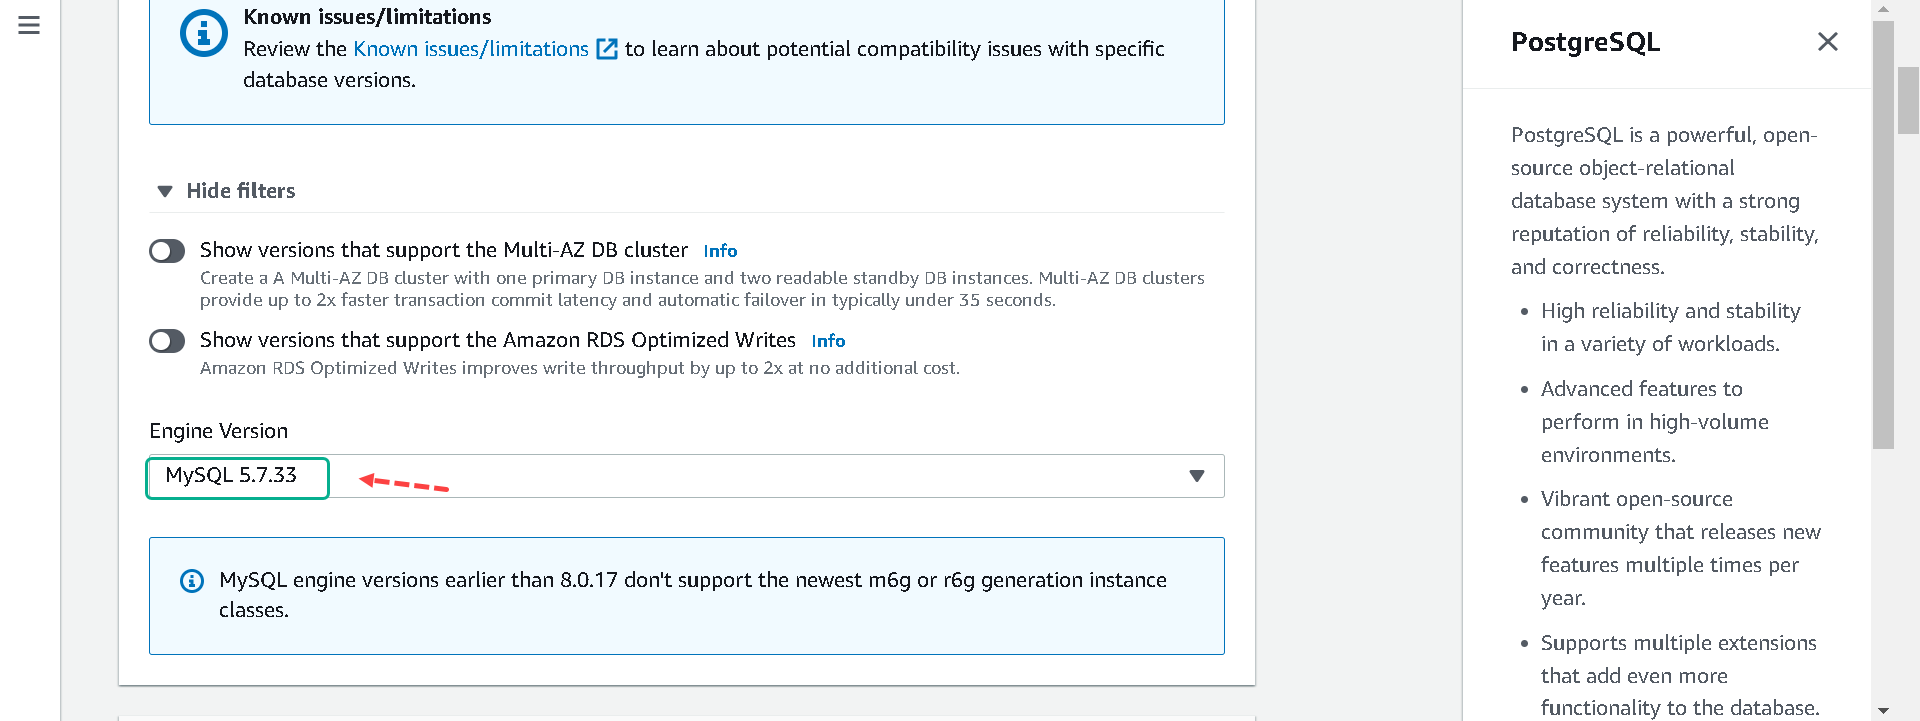
4.When you select MySQL as your database engine, the latest version will be automatically selected for you. For this lab, select MySQL version 5.7.X.
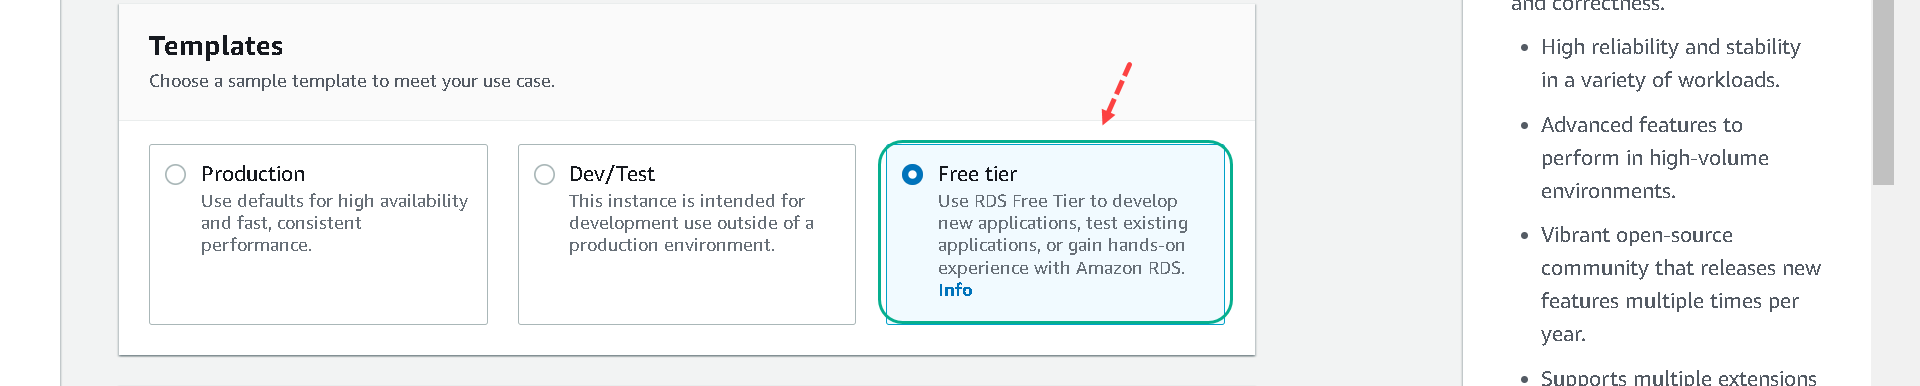
5.For Template, there are three options available: Production, Dev/Test and Free Tier. For the lab purpose, we will select Free Tier.
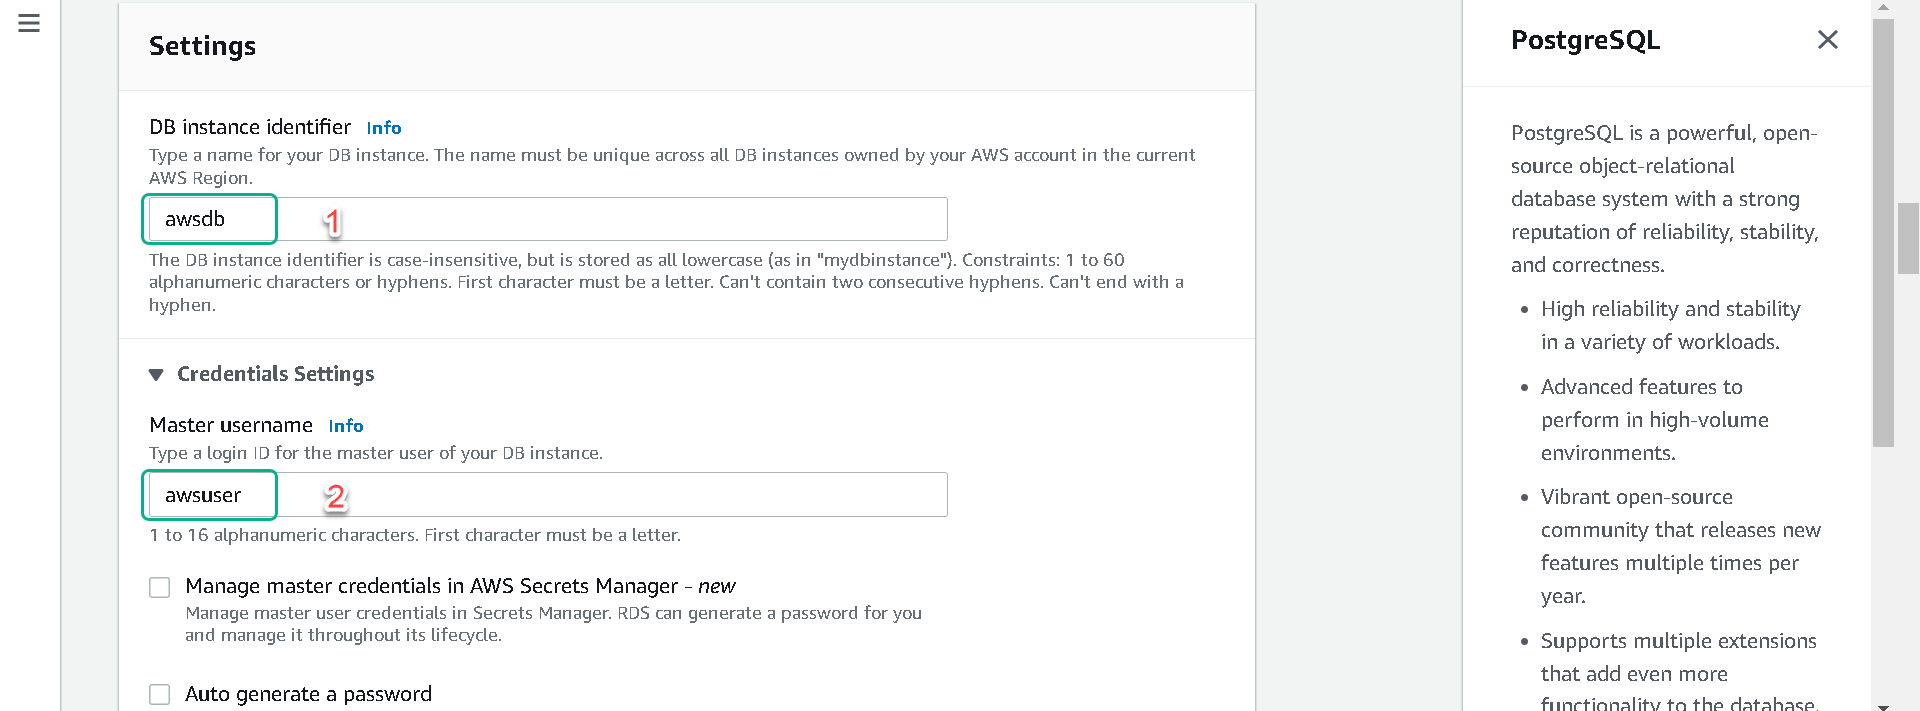
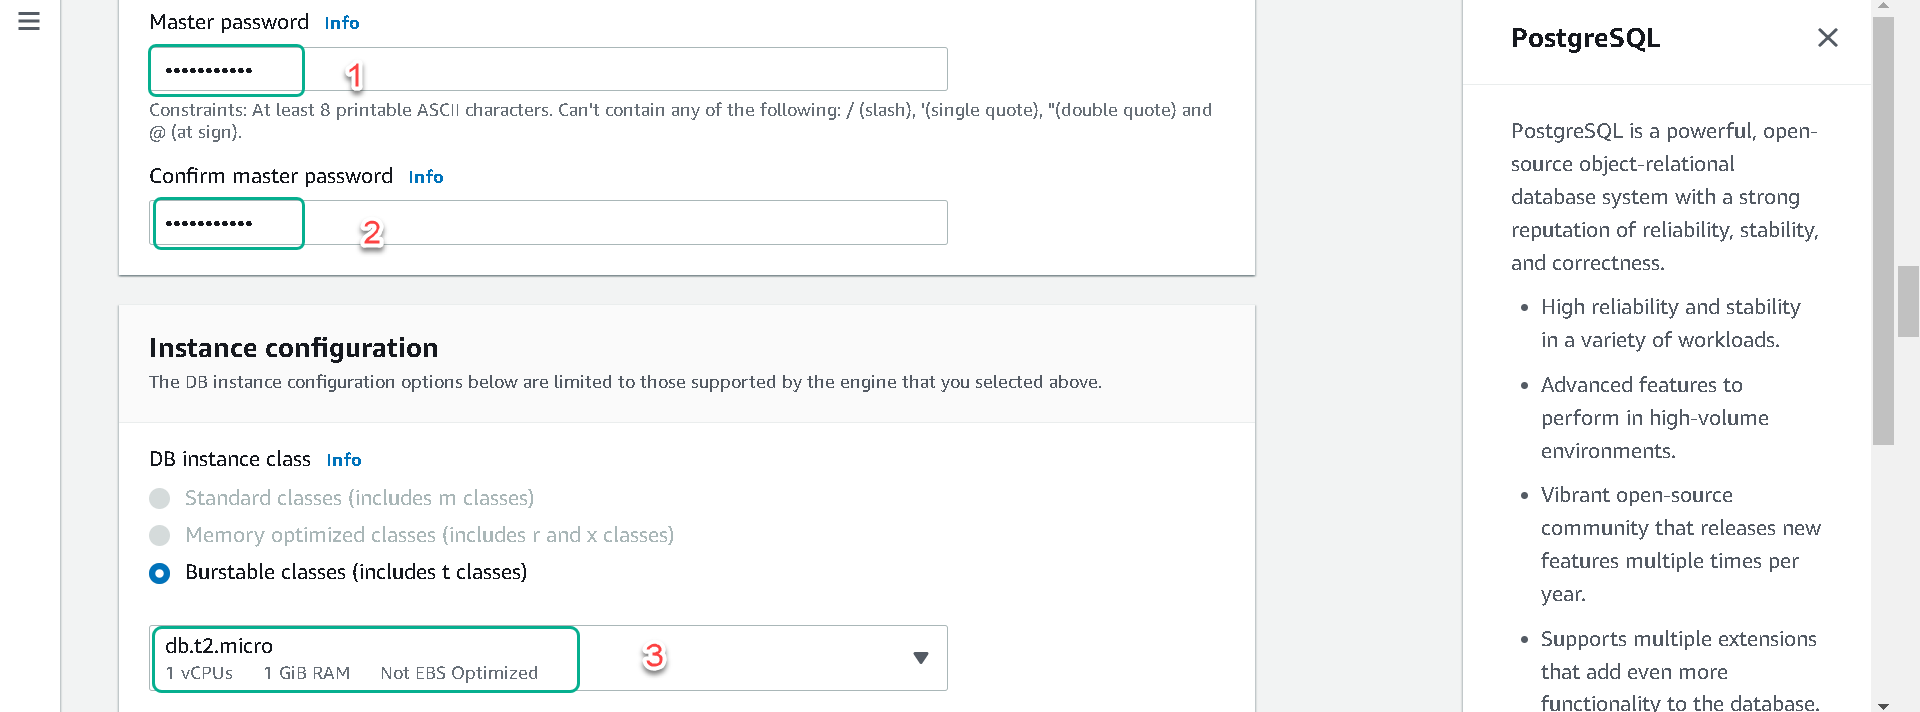
6.In Settings section, fill in the following for each field
| # | Parameter | Value |
|---|---|---|
| 1 | DB Instance Identifier | awsdb |
| 2 | Master Username | awsuser |
| 3 | Master Password | awspassword |
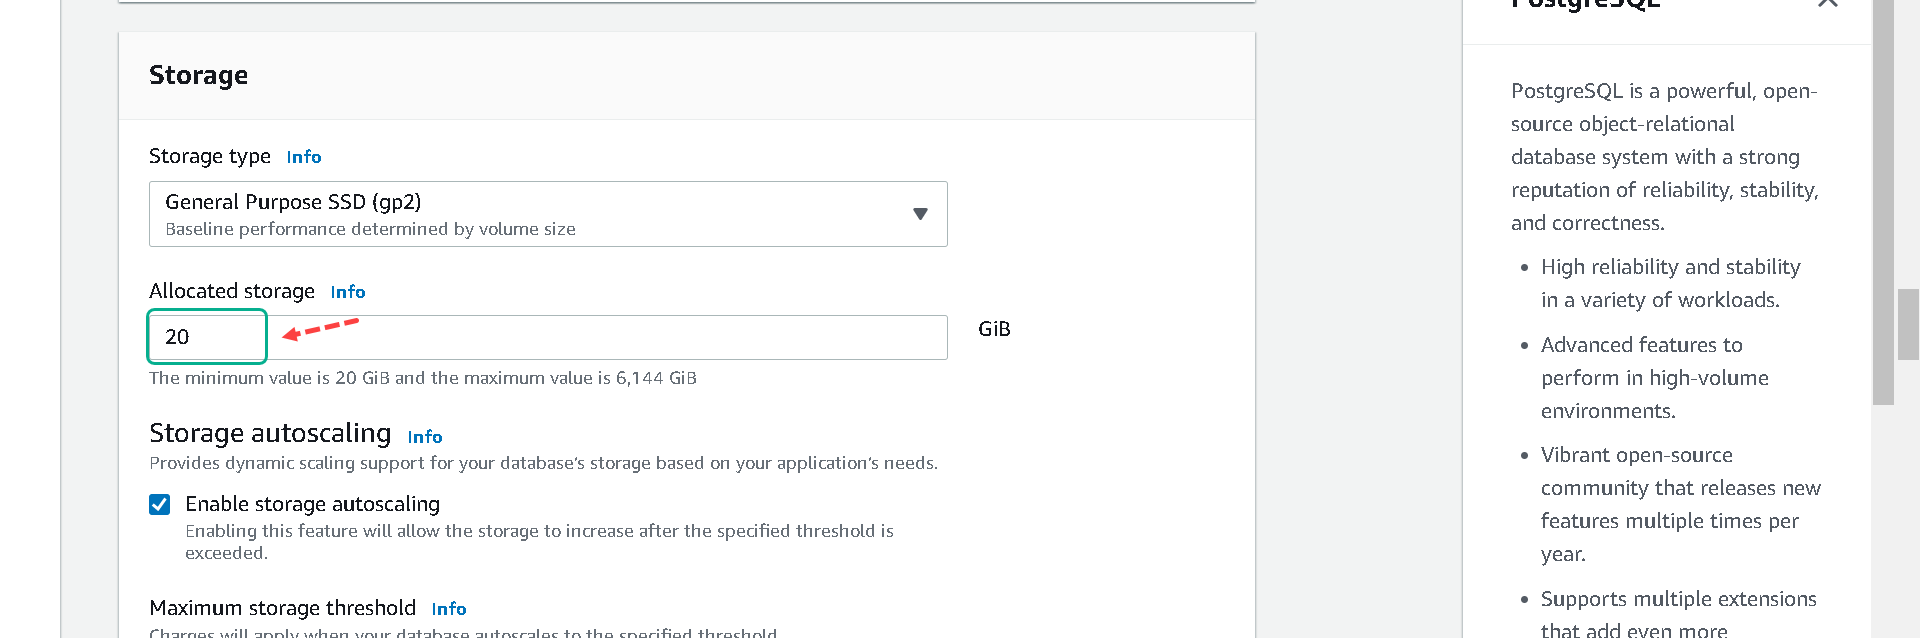
7.In the Storage section, select the Storage Type as General Purpose SSD. You can select or deselect the option for Auto Scaling for the lab purposes.
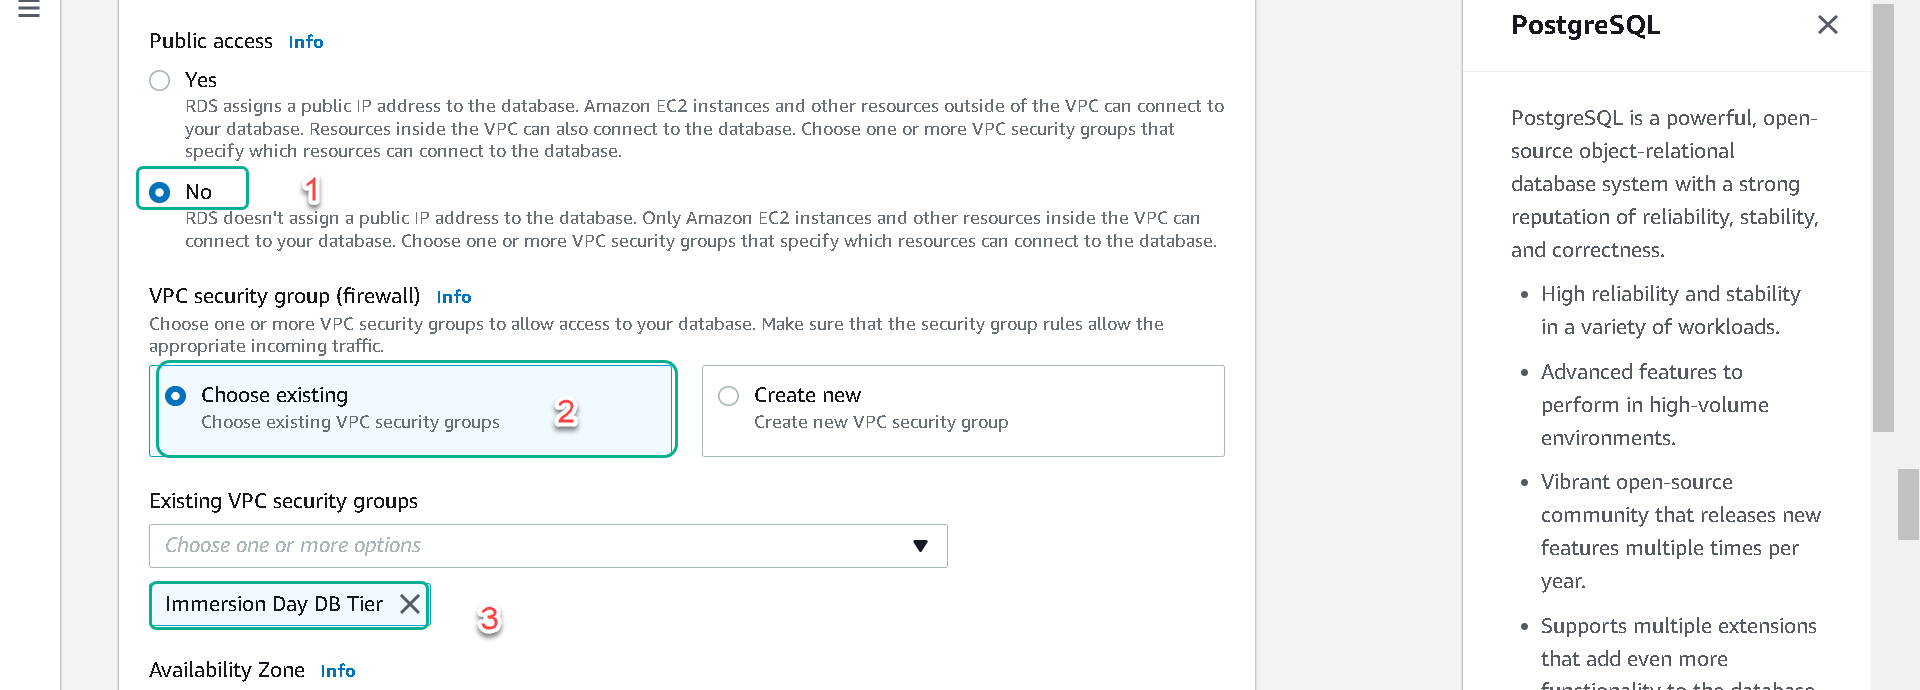
8.In the Connectivity section:
| # | Parameter | Value |
|---|---|---|
| VPC | Default VPC |
|
| Additional connectivity configuration | ||
| Subnet Group | default |
|
| Publicly accessible | No |
|
| VPC Security Group(s) | Select Choose existing VPC security groups, then pick Immersion Day DB Tier |
|
| Availability Zone | No preference |
|
| Database port | 3306 |
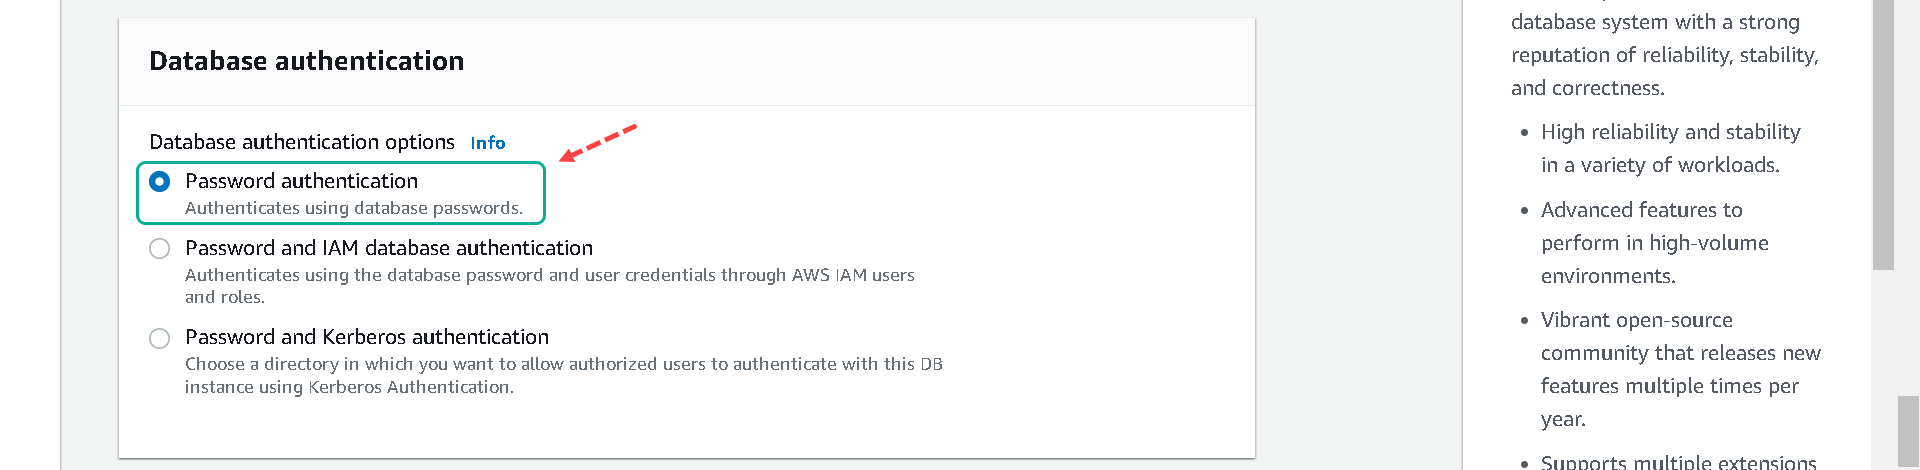
9.For Database authentication,
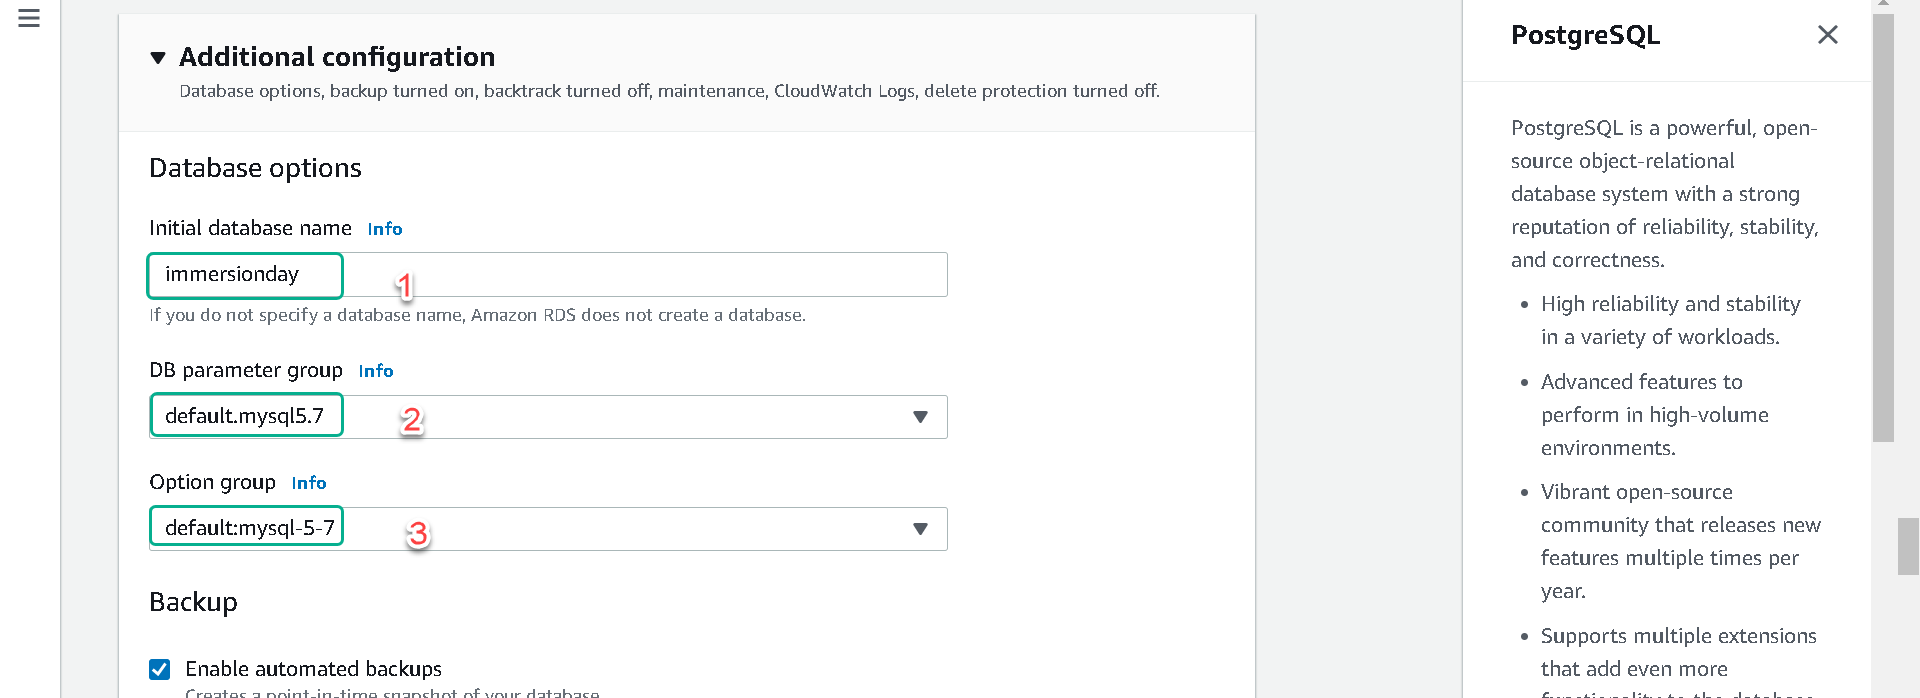
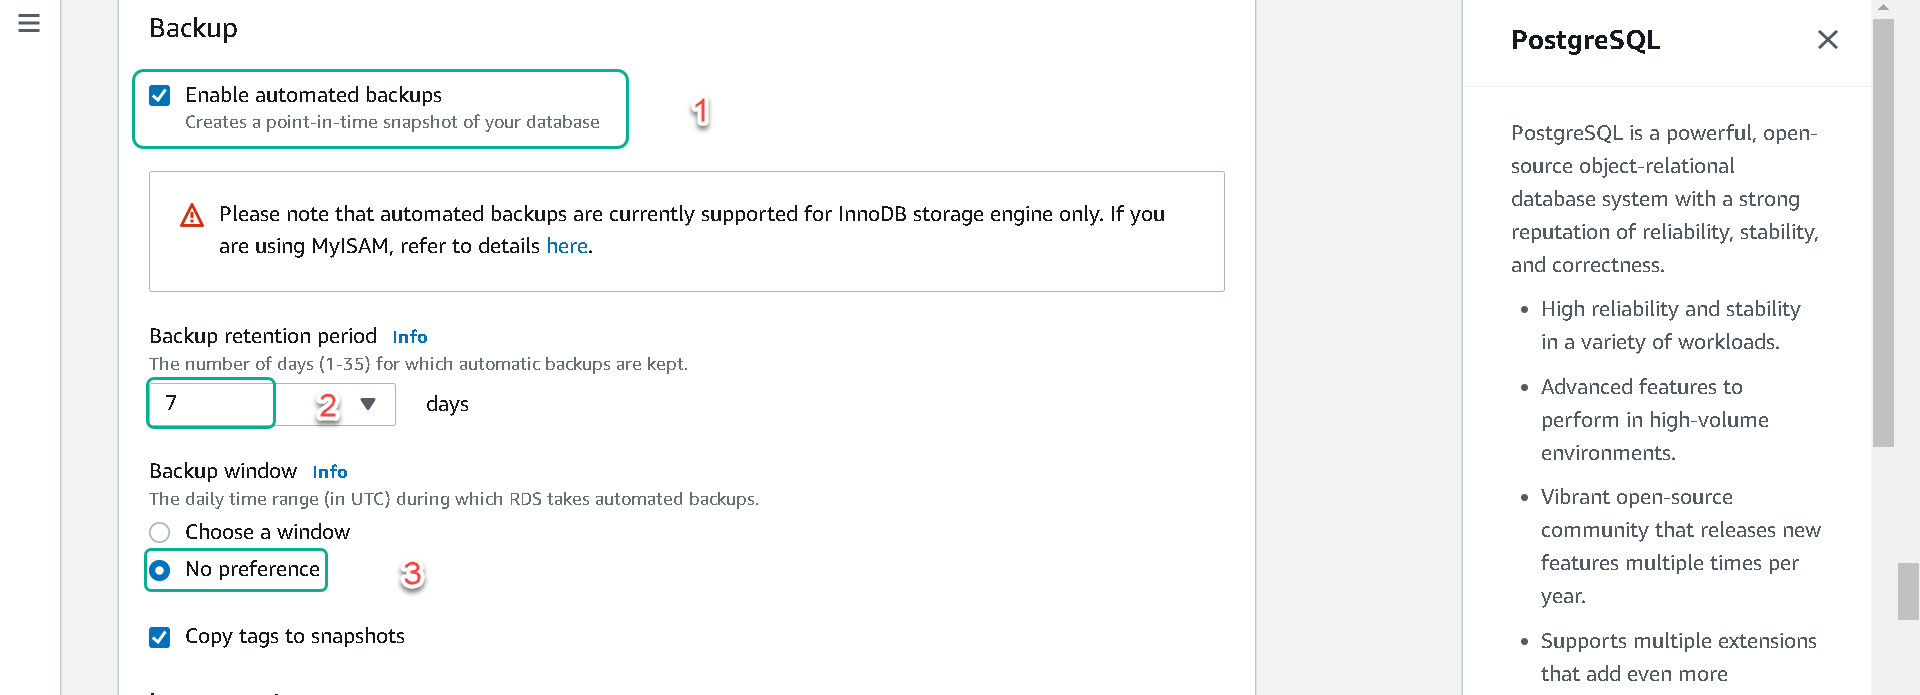
10.Expand on Additional Configuration.
11.Review your settings and click Create database.

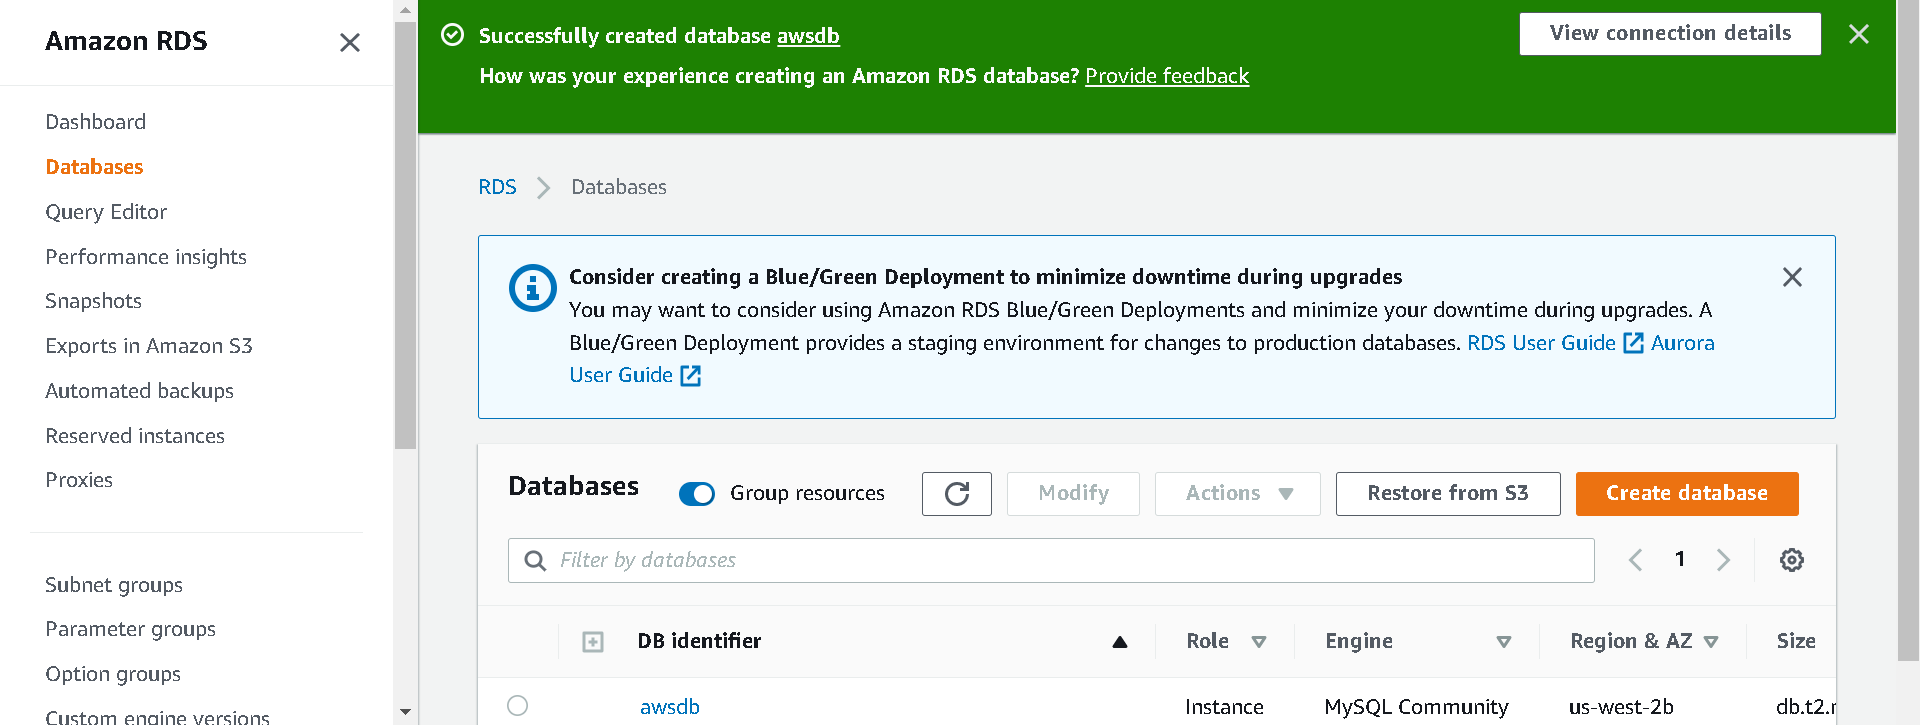
12.n the RDS Dashboard, monitor your new DB instance until the status changes from creating to backing up to available.
This may take up to 5 minutes as the database is being created and backed up.